A freshly painted door can dramatically improve the look of any room or building entrance. Whether it’s the main front door or an interior feature, repainting a previously painted door is a straightforward project that yields impressive results—if done right.
This guide will walk you through every step of repainting a door, from surface preparation to applying the final coat. Along the way, we’ll share helpful tips to achieve a smooth, professional-looking finish and avoid common pitfalls. Whether you’re a DIY enthusiast or considering professional help, this guide will prepare you for success.
Why Repaint a Painted Door?
Doors take more abuse than most other surfaces in a home or commercial building. Constant use, accidental bumps, fingerprints, pet scratches, and weather exposure (for external doors) cause paint to deteriorate over time. This results in fading, chipping, or uneven surfaces that can make the entire area look dated or neglected.
Repainting offers several benefits:
- A clean, updated aesthetic
- Enhanced protection from wear and moisture
- An affordable way to refresh your property
- Better alignment with new interior design trends
And if you’re managing multiple properties or units, repainting doors can be an easy win—especially in bold renovation projects like Body Corporate Painting.
Step 1: Gather Your Tools
Starting with the right tools will make the job smoother. Here’s what you’ll need:
- Screwdriver (to remove door and hardware)
- Drop sheets or old towels
- Painter’s tape
- Sandpaper (120 and 220 grit)
- Cleaning cloths
- Wood filler (if needed)
- Putty knife
- High-quality primer
- A suitable paint (acrylic or enamel works well)
- Paintbrushes and/or foam rollers
- A well-ventilated workspace
If this is part of a bigger interior upgrade, consider how it complements the walls, trim, and finishes. You might also want to read about How to Prep Walls for Painting for a full room transformation.
Step 2: Remove or Protect Hardware
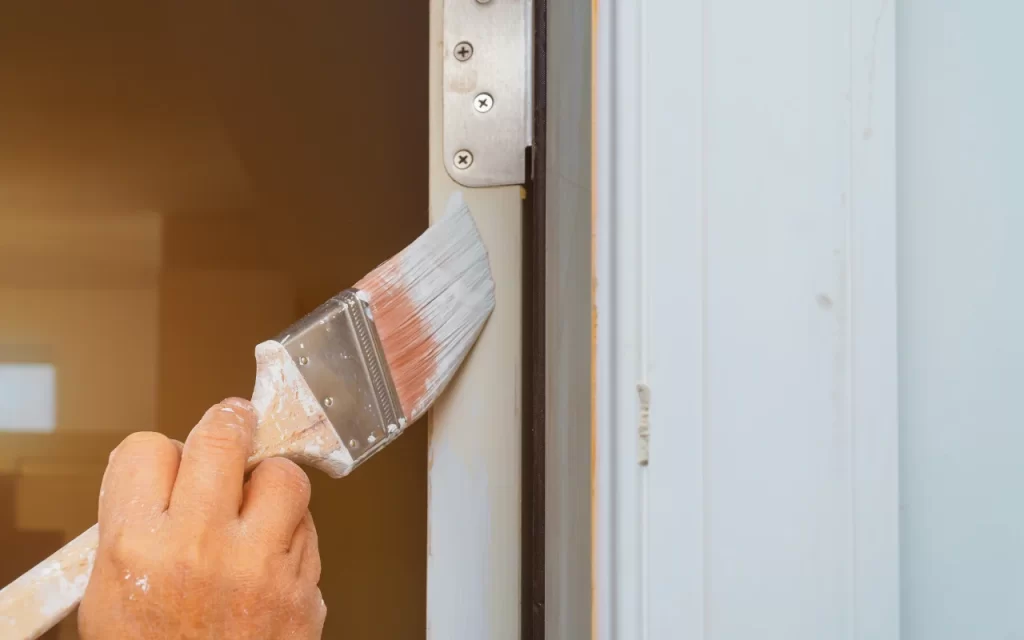
For the cleanest result, remove all hardware from the door: knobs, locks, hinges, and any decorative elements. If you’d rather leave the door hanging, you can tape over these components instead.
If removing the door, place it on sawhorses or a stable, flat surface with adequate lighting and ventilation.
Step 3: Clean the Door Thoroughly
Paint sticks best to clean, residue-free surfaces. Use warm water and a mild detergent or sugar soap to wipe away dirt, oils, and dust. If the door has been exposed to greasy fingers or outdoor pollution, be sure to scrub thoroughly.
Let the door dry completely before moving on to sanding.
Step 4: Sand the Surface
If the current paint is in good shape (i.e. not peeling or cracked), a light sanding will roughen it enough for the new coat to adhere properly. If the surface is uneven or damaged, more extensive sanding or stripping may be required.
- Start with 120-grit sandpaper to remove gloss and imperfections.
- Follow with 220-grit for a smooth base.
- Wipe down with a tack cloth to remove dust.
This step is critical—whether for a single door or part of a larger Residential Painting project, surface prep is half the battle.
Step 5: Fill and Repair
Inspect the door for dents, cracks, or holes. Use wood filler to patch these areas, then sand smooth once dry.
Use a putty knife for application and feather out the edges for an invisible blend. A seamless surface ensures a flawless paint job, especially if you plan to use semi-gloss or high-gloss finishes.
Step 6: Prime the Door
Priming ensures paint adheres properly and provides an even, lasting colour—especially important if you’re painting over a dark colour, stains, or glossy finishes.
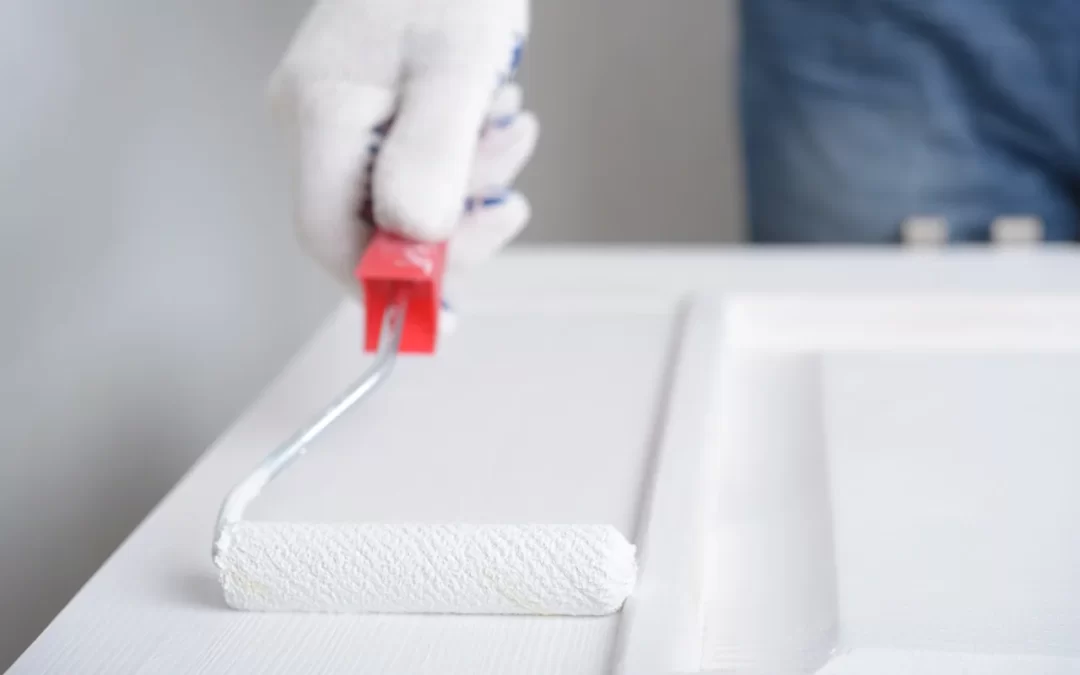
Apply one coat of primer using a brush for edges and creases and a foam roller for flat sections. Let it dry fully before painting.
You may be wondering: How Long Does It Take for Paint to Dry? That depends on temperature, humidity, and paint type, but generally, primers take 1–4 hours to dry and paints require 4–8 hours between coats. Always follow manufacturer guidelines.
Step 7: Apply Paint
Now it’s time to apply your chosen paint colour.
Technique Tips:
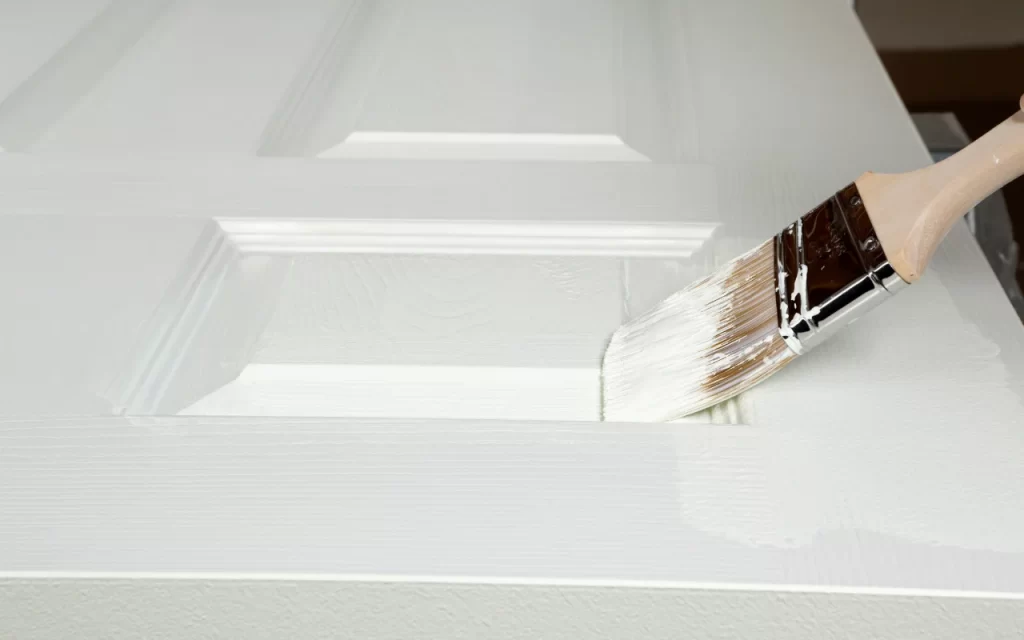
- Start with recessed panels or designs.
- Move to the horizontal and vertical flat areas (called stiles and rails).
- Use a foam roller for large areas and a brush for edges and tight spots.
- Don’t overload the brush or roller—multiple thin coats are better than one thick one.
- Let each coat dry completely before applying the next.
Usually, two coats are enough, but darker colours or dramatic colour changes may require a third.
If this is part of a workplace refresh or business upgrade, this could be a great add-on to broader Commercial Painting plans.

Step 8: Reassemble and Reinstall
Once the paint is fully cured:
- Carefully remove painter’s tape.
- Reinstall knobs, handles, locks, or decorative hardware.
- Rehang the door (if removed) and check that it opens and closes smoothly.
Pro tip: Allow the door to cure for at least 24–48 hours before heavy use to prevent smudging or tackiness.
Common Mistakes to Avoid
- Skipping prep: A poorly prepped surface can cause paint to peel or bubble.
- Using cheap tools: Low-quality brushes or rollers leave streaks or fuzz.
- Painting too thickly: Thick layers take longer to dry and are more prone to drips.
- Rushing drying times: Be patient between coats for a smoother, longer-lasting finish.
For long-term projects involving multiple rooms or exterior areas, you’ll appreciate these best practices just as much as in a single-door job.
When to Call in the Pros
Painting one door might be easy, but what if you’re repainting all the doors in a home, office, or apartment complex? Or if you’re managing a timeline-sensitive project and need the job done efficiently with zero mess?
That’s where we at Stretch Paints come in. Whether it’s refreshing a home’s front door or leading large-scale commercial or strata painting jobs, we bring years of experience, top-tier materials, and professional results to every project. You can trust us to get the job done right, on time, and with a finish that lasts.
The Finishing Touch
Repainting a door may seem minor, but it can elevate the style and freshness of a space significantly. With the right tools, techniques, and patience, you can get professional-looking results—even as a DIY project.
And if you’re tackling bigger painting projects and want everything to match—walls, trims, ceilings, and doors—make sure you’re prepping all surfaces correctly. Start with our guide on How to Prep Walls for Painting to ensure consistency throughout your property.
Need help or want to save time? Reach out to us at Stretch Paints—we’d love to help you transform your space with colour.
Recent Comments