A beautiful, long-lasting paint job doesn’t start with the brush—it begins with proper preparation. Whether tackling a full home refresh or updating a single room, prepping your walls thoroughly before painting can be the difference between a professional-looking finish and a patchy, peeling disaster. This blog will walk you through the most effective steps to prepare your walls before opening a paint can.
At Stretch Paints, we’ve helped countless clients achieve flawless paint finishes in homes and large-scale commercial properties. Our process always begins with detailed wall preparation; we’re here to show you how to do the same.
Step 1: Clear the Room
First, remove as much wall décor and furniture as possible from the room. If nothing can be removed, put everything in the back centre room and cover it with a drop cloth or plastic. Remove draperies, picture hangers, outlet covers, and light switch plates. Doing this will allow you to use the entire wall and protect your possessions from dust and paint drips.
Step 2: Clean the Walls
The paint will not stick well to your walls if they are dusty, oily, and dirty. The walls, thus, have to be washed as the first step. Warm water and a light detergent solution will do. A degreaser may also be necessary in areas like kitchens and other places with oil and filth. The walls must be cleaned, rinsed with fresh water, and then air dry.
If you’re unsure about maintaining your paint finish later, check out our guide on How Do I Clean Painted Walls, which gives practical tips to help keep your freshly painted surfaces looking new.
Step 3: Scrape, Sand, and Remove Flaking Paint
New paint will be spoiled by torn or distressed paint. Peel and scrape back peeling or old paint or sand it smooth using a paint scraper or a putty knife. Scrape and continue sanding rough areas on walls using medium-grit sandpaper. This will present the wall surface with an even surface and build adhesion in fresh paint.
This step is crucial if you’re working on a Body Corporate Painting project, as multiple coats of paint applied over the years can build up, leading to uneven finishes. In such cases, thorough sanding ensures a more consistent and professional look across all units.
Step 4: Fill Holes and Repair Wall Damage
Even the most incredible paint job will include dings, cracks, and nail holes. Use spackling compound or wall filler to hide any flaws. If you have giant holes or cracks, you’ll have to do multiple coats, allowing each to dry completely before doing the next.
After thoroughly drying the filler, sand the patched areas until they are flat with the wall surface. If you’re fixing up minor damage from previous paint issues, refer to our tips on how to repair paint chips on the wall to learn how to get a seamless finish.
Step 5: Address Stains and Mold
Some stains will bleed through the paint unless adequately treated. Water stains, crayon marks, and nicotine discolouration are common culprits. Apply a stain-blocking primer to these areas before painting.
Use water and bleach (usually a 3:1 ratio) to clean it if you see mould or mildew, then rinse and dry thoroughly. Before painting, the mould must be removed from its source to prevent it from growing beneath your paint.
Step 6: Apply Painter’s Tape and Protect Surfaces
Use painter’s tape along the edge of the wall, including baseboards, trim, door surrounds, and ceiling, to achieve clean, precise cut lines. The paint won’t bleed beneath the tape if forced firmly into place.
Don’t forget to protect the floor with a drop cloth or plastic sheet. Protect window sills and glass panes when painting in front of windows.
Step 7: Prime the Walls (If Necessary)
While not always required, priming is required in some instances:
- You’re placing a darker color over a lighter one.
- There is exposed space, blotches, and spots on the wall.
- You’re using permeable surfaces or freshly installed drywall.
A good primer ensures improved adhesion and coverage with paint, creating a smooth and level base. If you’re undertaking a Residential Painting job, especially in older homes, priming can make all the difference in achieving that perfect finish.
Step 8: Final Dusting and Inspection
Spend a few minutes dusting the area one last time before painting. Dust might still gather on the wall’s surface even after sanding and washing. Vacuum the walls lightly with a brush attachment or a microfiber cloth.
Walk through the room and inspect your preparation work. Have you missed any holes or rough spots? Is the painter’s tape secure? Are your drop cloths in place? This last check will save you time and frustration once you start painting.

Extra Tips for a Professional Result
Use Quality Tools and Materials
Cheap brushes and rollers can shed bristles or leave streaks. Invest in high-quality painting tools—they’re worth it.
Mind the Weather
If you’re painting indoors, moderate temperature and low humidity are ideal. For outdoor Commercial Painting projects, avoid painting in extreme weather conditions as it can impact drying time and paint adhesion.
Plan Your Paint Strategy
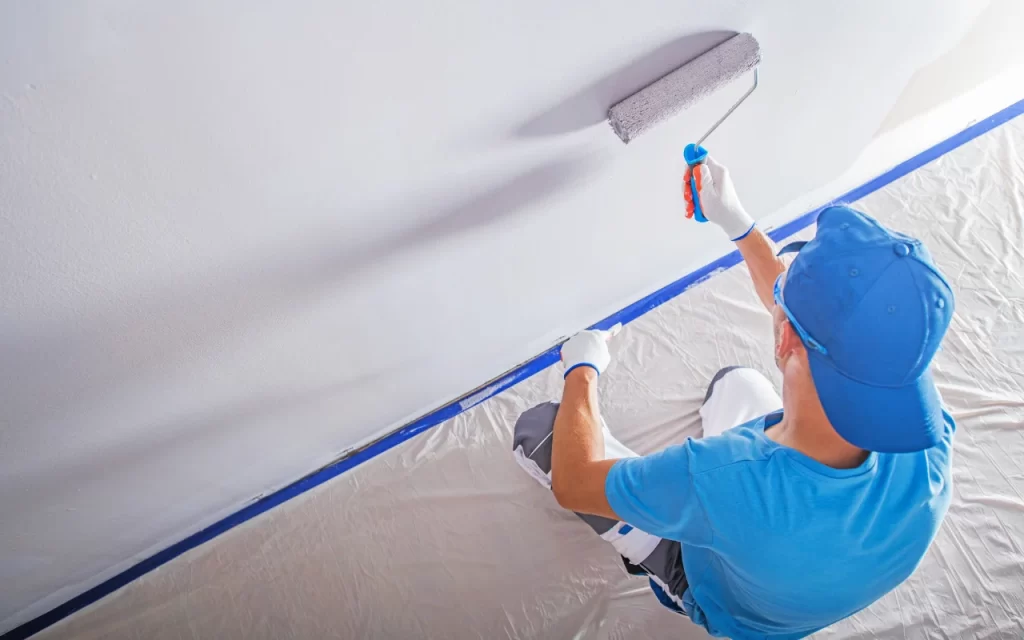
Start from the top and work your way down. Paint ceilings first, then walls and trim. This helps you avoid drips on freshly painted areas.
Ready to Paint?
Once your walls are fully prepped, you’re finally ready to apply that beautiful new colour. Proper preparation may take some time, but it pays off in a flawless finish lasting years.
At Stretch Paints, we pride ourselves on delivering high-end results by never skipping the prep work. Whether you need help with a home refresh, strata property, or business space, we bring the tools, techniques, and experience to do the job right.
Need a hand with your next painting project? From complete Residential Painting transformations to detailed Body Corporate Painting solutions, we have the expertise to make your walls look brand new.
Why Wall Prep Matters More Than You Think
Preparing the walls before painting is one fundamental stage that establishes the mood for the entire endeavour. Better adherence, a smoother application, and a longer-lasting finish are all guaranteed with this instruction. Remember that your best buddies when painting is clean, repair, sand, and prime.
Whether you’re sprucing up a single room or managing a Commercial Painting contract, the time you invest in prep will always pay off in quality. Remember to look at our other valuable resources, such as How Do I Clean Painted Walls and How to Repair Paint Chips on Walls, to keep your paint looking fresh and well after the project.
And when you’re ready for a professional touch, let us at Stretch Paints bring your vision to life.
Recent Comments