Paint chips on walls can be an eyesore, whether you’re dealing with a small ding from moving furniture or more significant wear and tear over time. While repainting an entire room might seem like the obvious solution, it’s often unnecessary. With the right tools, techniques, and a little patience, you can repair paint chips on your wall and restore the clean, flawless look of your space. In this blog post, we’ll walk you through how to repair paint chips on walls step by step.
Understanding Paint Chips
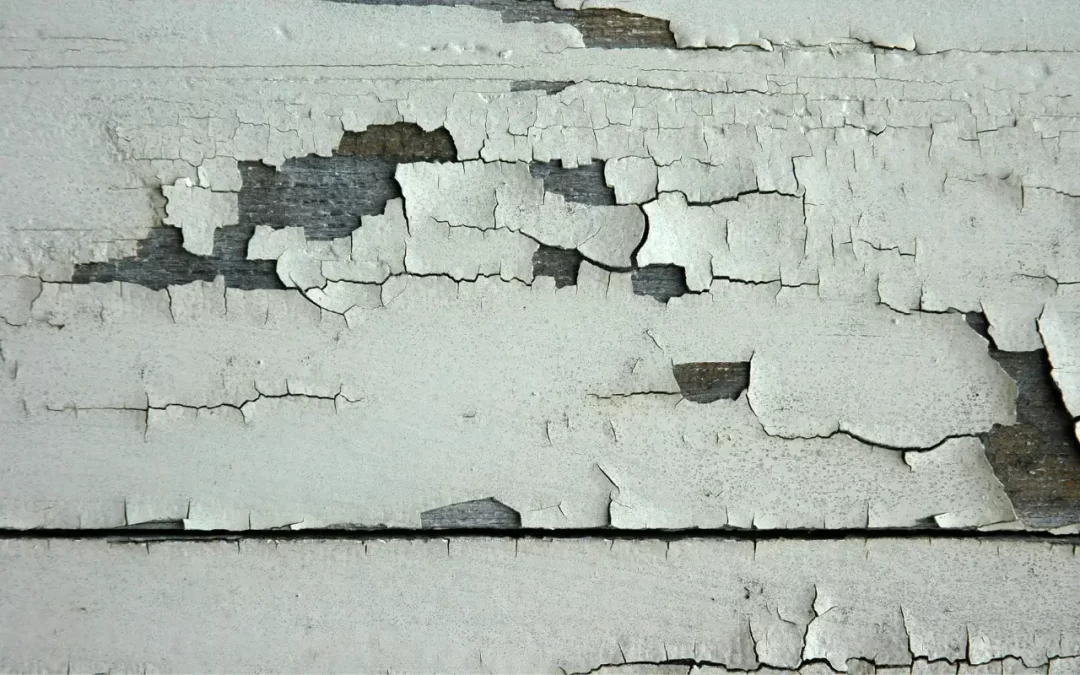
Paint chips occur when a layer of paint peels or flakes off the surface, exposing the material beneath. This could be caused by various reasons, including impacts, moisture damage, improper surface preparation before painting, or using low-quality paint. The good news is that most paint chips are relatively easy to fix without professional help.
However, if the problem is more extensive or you’re dealing with larger areas that need a repaint, especially in a Commercial Painting or Body Corporate Painting setting, it may be best to consult experts for a seamless finish.
Tools and Materials You’ll Need
Before you begin, gather the following tools and materials:
- Fine-grit sandpaper (180-220 grit)
- Spackle or wall filler
- Putty knife
- Paint primer
- Paint matching your wall colour
- Small paintbrush or roller
- Damp cloth
Step-by-Step Guide to Repair Paint Chips
Step 1: Clean the Area
Use a damp cloth to clean the chipped area thoroughly. Dirt, dust, or grease can prevent new paint and filler from adhering properly. Allow the wall to dry completely before proceeding.
Step 2: Sand the Chipped Area
Use fine-grit sandpaper to gently sand the area around the paint chip. This will smooth out the edges and help create a seamless transition between the chipped paint and the rest of the wall. Be sure not to over-sand and damage the surrounding paint.
Step 3: Apply Spackle or Wall Filler
Using a putty knife, apply a small amount of spackle or wall filler to the chipped area. Spread it evenly and feather the edges so it blends with the surrounding wall. Allow it to dry according to the product instructions.
Step 4: Sand Again
Once the filler is completely dry, lightly sand the area again to ensure a smooth surface. Wipe the area with a damp cloth to remove any dust.
Step 5: Apply Primer
Before you paint, apply a coat of primer to the repaired area. This is especially important if the chip exposed raw drywall or if the filler material absorbs paint differently than the surrounding wall. Curious about drying time? Check out our blog post on How Long Does Paint Primer Take to Dry for more details.
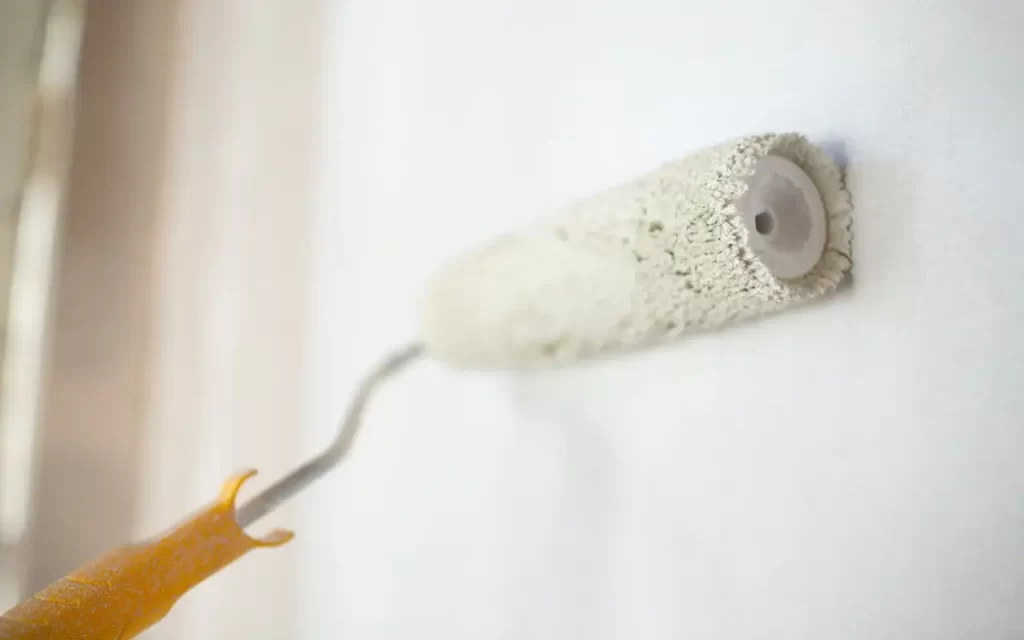
Step 6: Paint the Area
Once the primer is dry, use a small brush or roller to apply the matching paint colour. Feather the edges slightly so the new paint blends with the old. Depending on the colour and coverage, you may need to apply a second coat.
Tips for a Seamless Repair
- Colour Match: If you don’t have leftover paint, take a sample or a paint chip to your local hardware store for colour matching.
- Test First: Try the paint on a hidden area to ensure the match is perfect.
- Use Quality Paint: For best results, use high-quality paint that matches the sheen (matte, satin, gloss) of the original wall.
- Don’t Rush: Allow proper drying time between each step. Rushing can result in a sloppy finish.
When to Call in the Pros
While DIY methods are effective for small chips, you might want to consider professional help for larger repairs or more visible areas. This is especially true for areas that require extensive preparation or where the paint damage is due to structural issues or moisture. If you’re dealing with chipped paint in rental units, multi-residential properties, or offices, professional services like Residential Painting or Body Corporate Painting might be more appropriate.
That’s where we come in. At Stretch Paints, we specialise in transforming interiors and exteriors with precision and care. Whether it’s a small repair or a large-scale project, we’re here to help you achieve a flawless finish that lasts.

Preventing Future Paint Chips
Once your wall is looking good as new, it’s worth taking a few steps to prevent future chips:
- Avoid placing furniture too close to walls.
- Use corner guards in high-traffic areas.
- Choose durable, washable paint for busy areas.
Fix leaks or moisture issues promptly to prevent paint bubbling or peeling.
From Chips to Charm
Repairing paint chips on a wall is a manageable task with the right approach. From cleaning and sanding to filling, priming, and painting, each step plays a crucial role in achieving a smooth, professional-looking repair. If the task feels overwhelming or you’re dealing with paint damage in a professional or shared space, don’t hesitate to seek expert help.
Whether you’re tackling a quick home touch-up or a full repaint, understanding the process makes a big difference. And if you’re ever in doubt or need that expert finish, reach out to us at Stretch Paints. For more helpful articles, be sure to explore our guides on Commercial Painting, Residential Painting, Body Corporate Painting, and How Long Does Paint Primer Take to Dry.
Your walls deserve to look their best—and with the right care, they will!
Recent Comments